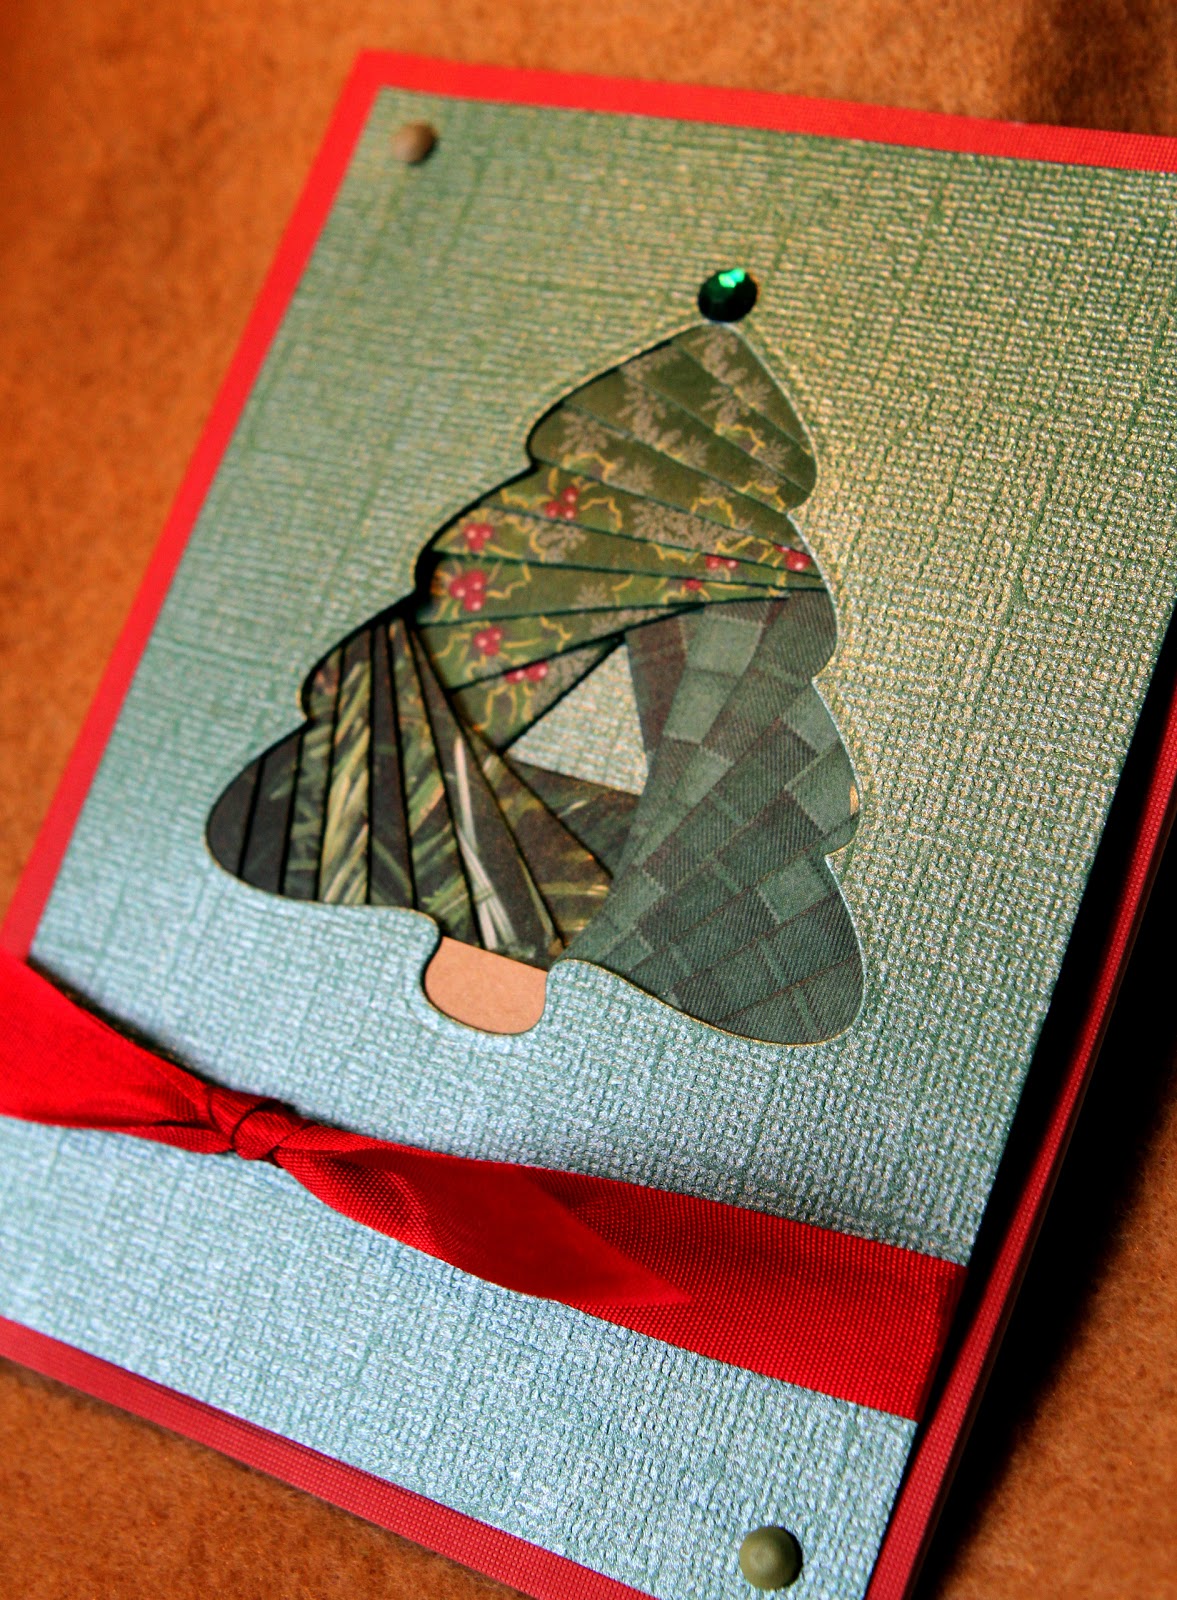
I remember how complicated Iris Folding appeared to be when I first saw it. Though it takes a little time, it is actually quite easy. One way to make it even easier is to use diecuts for the aperture shape. Here I have used shapes cut from dies and geometric iris folding patterns to customize a pattern for that shape. The tree, owl, mitten and cup are all Spellbinders die while the pumpkin and ornament are from
Serendipity.
Most patterns are a geometric shape...triangle, square, pentagon, hexagon or oval. The templates for these geometric shapes can be found online. One source I found is
here at IrisFolding.com. In addition to the geometric shapes, they have alphabet, numbers and several decorative shapes. They also sell a book called Simplicity of Iris Folding. I have not seen the book, but you can learn how to do Iris Folding online, if you don't understand the concept.
Another source for patterns and information is the Yahoo group. Iris Folding at Yahoo Groups has recently been revived and has become quite active. I recommend this group!
I suggest you get a loose leaf notebook, some page protectors and print the five geometric shape templates. Using a page protector keeps your pattern from getting messed up. Diecut your aperture from cardstock. Use reposition able tape along an edge so that you can lift your design as you work it and check on the progress. You can also print on acetate and then look on the other side of the pattern to check on your progress.
I choose the shape I use depending on the basic shape of the diecut. I meant to use the triangle on the owl going the other direction to form a beak....I will correct that next time I do an owl design! The shape you choose will also determine how many different papers you use. On the ornament, I used each of the wrapping papers twice rather than using four different papers. I like wrapping paper as it is thinner and doesn't create as much bulk.
Below, you can see the geometric shapes I have printed on acetate and placed in a protector. Patterns are often numbered and then a letter added to show the order and what paper to use.
Another way to show the paper to use is to color the design (these I drew in pencil on vellum) like I did on the cup. First trace the aperture and then place over the desired geometric shape. You might have to continue the pattern to fill up the aperture. I draw them on vellum (or tracing paper) so that I can see the geometric pattern beneath it. Using this technique, you can create an iris folding pattern for most any shape you can diecut!

Sometimes shapes will call for you to create a pattern. Several years ago I created a pattern for a tie (business envie size) for which I used safety envelopes for the paper. It was published in The Rubber Stamper Magazine. Recently, I found a die (Dee's Distinctively Dies) that cuts a tie, so I drew out the pattern for this tie, beginning at the edges and going in. An iris folding pattern is basically a shape in graduated sizes, tilted a little each time. I actually made two separate patterns for the two areas, just as you would for butterfly wings, etc. Sometimes the folding pattern actually becomes part of the design of the shape. If you look at some of the photos at the Yahoo group, you will see what I mean.
I have not done Iris Folding in years, but with the revival of the Yahoo group as well as new die in my stash....I had to give it a visit! I am a little rusty! My friend,
Jan Castle, does some of the neatest Iris Folding I have ever seen!
So, pull out those die and papers and have fun!


7 comments:
Great cards, Holly and those dies are perfect in combination with irisfolding.
The dies make life soooooooooooo much easier!!!!! Cheery Lynn Designs made a cat and a kimono die for me (available on their site under 'oriental')in case you need a couple more dies - LOL! Love your 'print on acetate' idea...will give that a go...you are just toooooo clever Holly! Love ya!
Paper Hugs,
Jan
Holly these are absolutely STUNNING, I'm dying to give these a try now! Thanks so much for sharing x
This is such an interesting idea! I had never seen such a thing before, but your tutorial was so good....even I could probably do one! Thanks for the great ideas, I love learning something new.
What do you use for making the die cuts? I am looking on the internet at machines like the cricut -- do you recommend one?
I love your owl card. So inspirational. Can you tell me which size owl you used from the spellbinders die cuts and how big your card actually is? I'd love to make one similar. You have some great ideas.
Where can I get bow shaped dies. The die I have at the moment looks more like a butterfly!
Post a Comment